Plugging in the device

1.
Connect the power cord to the external power supply. Plug the circular connector into the back of the Cooling Unit. You will hear a click when properly connected. Plug the power cord into the wall outlet.

2.
Connect the hose to the control unit. You will hear a click when properly connected.

3.
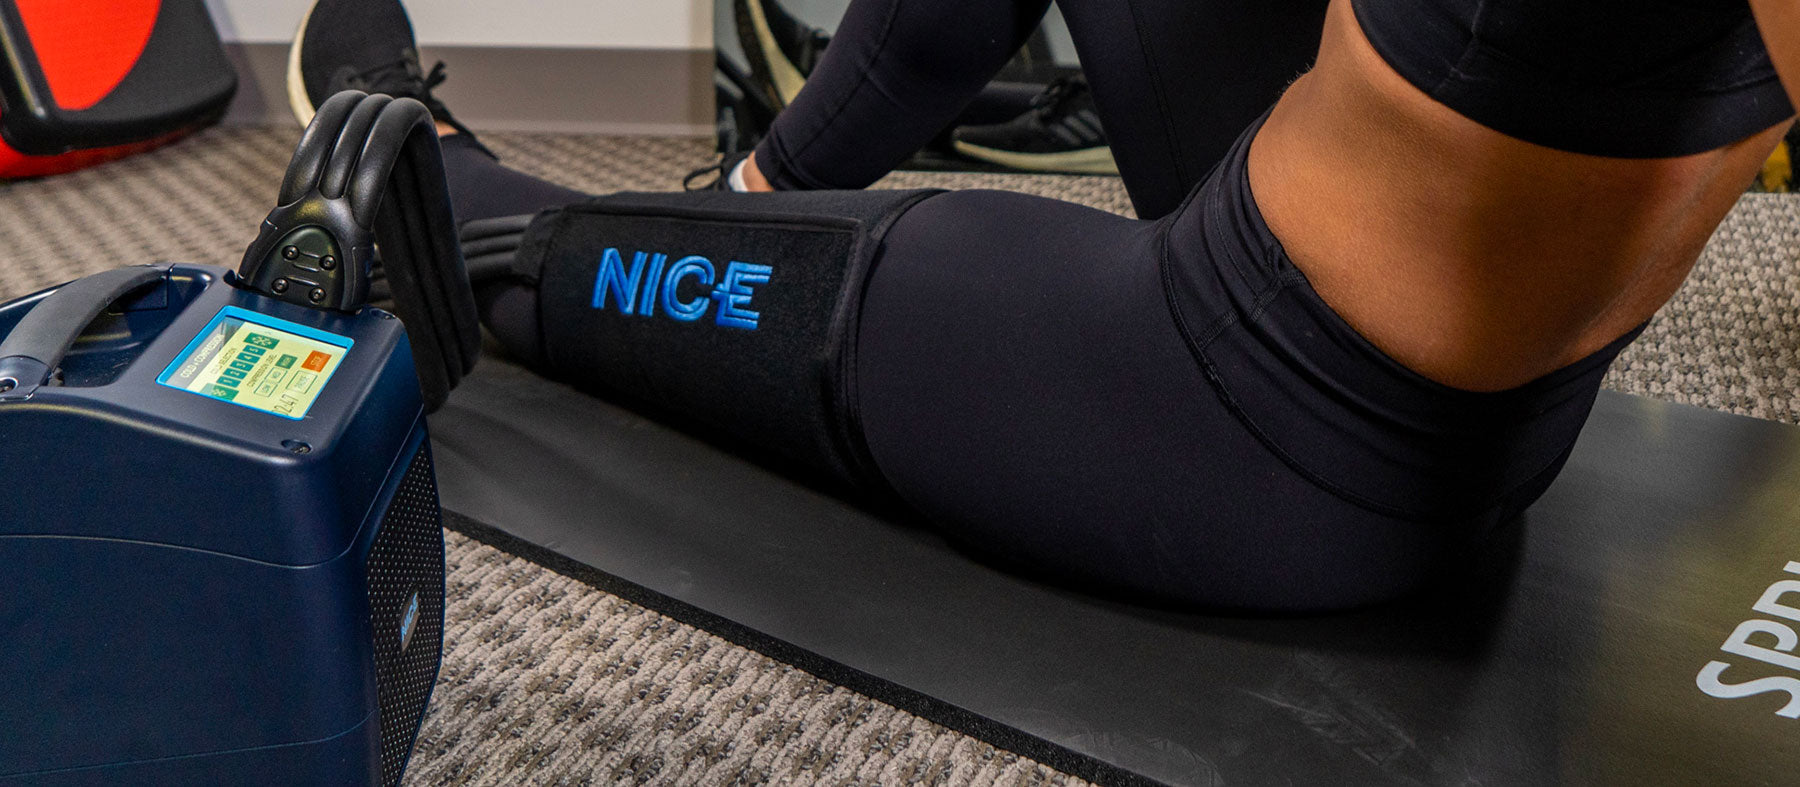
Place the wrap on the appropriate body part. Secure with hook fastener strips. Connect the hose to the wrap. You will hear a click when properly connected.
Using the interface
1.
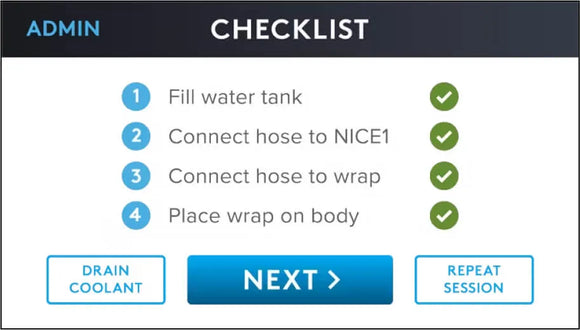
Turn on the power switch on the back of the device. The touch screen will illuminate and display the “Nice” logo. Press Start. Review the checklist on the touch screen. Confirm and press NEXT

2.
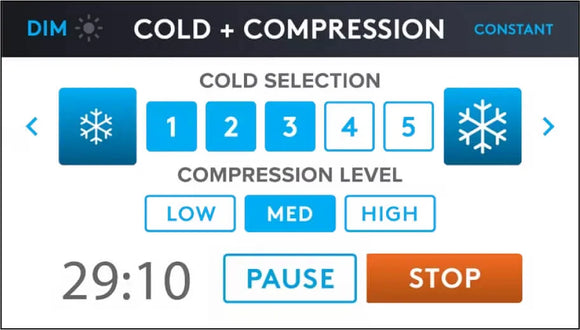
Select desired COLD LEVEL and press NEXT. (level 5 is the coldest setting)
COLD SETTINGS ARE AS FOLLOWS:
Level 1 = 58F (14.4C)
Level 2 = 54F (12.4C)
Level 3 = 50F (10C)
Level 4 = 46F (7.7C)
Level 5 = 42F (5.5C)
3.
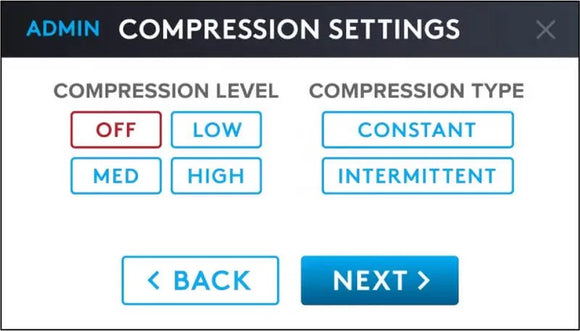
Select desired COMPRESSION LEVEL and COMPRESSION TYPE and press NEXT.

4.
Choose a MANUAL time setting of 5 – 40 minutes for a single therapy session OR choose a PRESET PROGRAM for multiple sessions and press NEXT.
5.
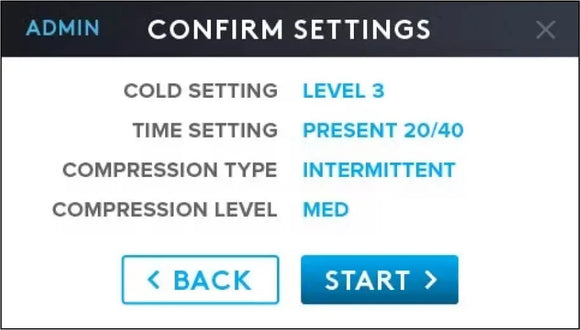
Review and confirm your settings by pressing START or press BACK to change the settings.
6.
During your therapy session you can change the cold or compression settings simply by pressing 1 – 5 or HIGH, MED or LOW. To Dim, Press Dim switch, to brighten – touch screen.